
Postman guide for the Reconciliation API
Learn how to create requests and receive responses from both the payments and statements endpoints of the Reconciliation API, using the Postman application.
Before you start
- Download and install the Postman application. You can find it here: https://www.getpostman.com.
- Grab your secret key. You can find it in the Hub under Settings > Channels.
Payments endpoint
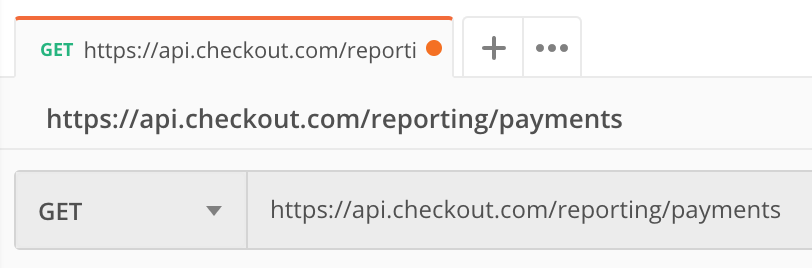
Step 1: Configure the endpoint
In the GET field, enter the following endpoint:
https://api.checkout.com/reporting/payments
Step 2: Set your parameters
To use this endpoint, you need to specify one of the 3 parameters below:
- date / time in ISO format (
fromandto) - payment ID (
paymentId) - reference (
reference)
In the example below, we'll specify the date / time, i.e. the timeframe during which the payments occurred.
In the Params tab, enter From in the Key column. Add the start date of your timeframe in the Value column — this must be in ISO format (YYYY-MM-DD). In the row below, enter To in the Key Column and the end date of your timeframe in the Value column.

Click to enlarge.
You can also add your parameter directly to your endpoint. For example:
https://api.checkout.com/reporting/payments?from={start-date-time}&to={end-date-time}
The same logic applies for the other available parameters:
https://api.checkout.com/reporting/payments/{paymentId}https://api.checkout.com/reporting/payments?reference={reference}
Step 3: Authenticate your request
After setting your parameters, you need to authenticate your request with your secret key and specify the response format you would like to receive.
In the Headers tab, enter Authorization in the Key column. In the Value column, add your secret key. You can find your secret key in the Settings > Channels section of the Hub. Next, enter Content-Type in the Key column and application/json in the Value column.

Click to enlarge.
Step 4: Send your request
If you want a JSON response...
Click Send to submit your request\ 
The response will be displayed in the bottom half of your screen.
If you want a CSV report...
Add /download in the URL field after payments, like this:
https://api.checkout.com/reporting/payments/download?from={start-date-time}&to={end-date-time}
Click the down arrow to the right of the Send button, then select Send and Download.\ 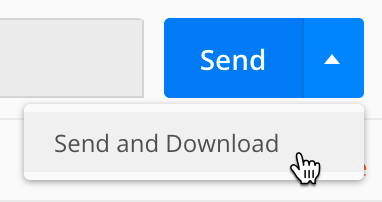
Once the download is complete, save the file to your preferred location. You can name it anything you like — just make sure your filename ends in .csv.
Statements endpoint
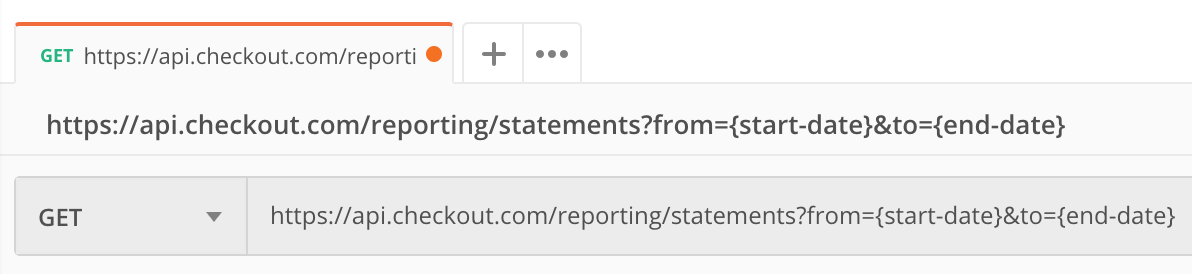
Step 1: Configure the endpoint
In the GET field, enter the following endpoint:
https://api.checkout.com/reporting/statements?from={start-date}&to={end-date}
When using the statements endpoint, you must include a date for when the Statement ID was created (or the timeframe in which it was created).
Step 2: Authenticate your request
In the Headers tab, enter Authorization in the Key column. In the Value column, add your secret key. You can find your secret key in the Settings > Channels section of the Hub.
Next, enter Content-Type in the Key column and application/json in the Value column.
The end result should look something like this:

Click to enlarge.
Step 3: Send your request
If you want a JSON response...
Click Send to submit your request.
The JSON response will be displayed in the bottom half of your screen.
If you want a CSV report...
Add /download in the URL field after statements, like this:
http://api.checkout.com/reporting/statements/download?from={start-date-time}&to={end-date-time}
Click the down arrow to the right of the Send button, then select Send and Download.\
Once the download is complete, save the file to your preferred location. You can name it anything you like — just make sure your filename ends in .csv.
Extensions
Payout breakdown
You can break down the detail even further by using the payout_breakdown field. This will provide all totals from each section of the statement.
Set up your request as above, then simply add &include=payout_breakdown at the end of the URL.
For example:
https://api.checkout.com/reporting/statements?from=2018-09-01&to=2018-09-19&include=payout_breakdown
You can download a CSV copy by adding
/downloadafterstatementsin the URL, like this:
http://api.checkout.com/reporting/statements/download?from={start-date-time}&to={end-date-time}&include=payout_breakdown
Statements / statement ID / payments
This extension will allow you to retrieve the list of payments and associated fees included in a given statement, payout or payout currency.
You can filter your request using any of the three parameters defined below.
- Statement ID:
https://api.checkout.com/reporting/statements/{StatementId}/payments - Payout ID:
https://api.checkout.com/reporting/statements/{StatementId}/payments?payout_id={PayoutId} - Payout currency:
https://api.checkout.com/reporting/statements/{StatementId}/payments?payout_currency={PayoutCurrency}
You can download a CSV copy by adding
/downloadafterpaymentsin the URL, like this:https://api.checkout.com/reporting/statements/{StatementId}/payments/download
Can we help?
Thanks for using Checkout.com. If you need any help or support, then message our support team at [email protected].
Updated over 1 year ago